Adding an Autoplay Movie
You can also use map view to add an autoplay movie to any project. Autoplay movies
start playing immediately when the DVD is inserted into the player, before the main
menu appears.
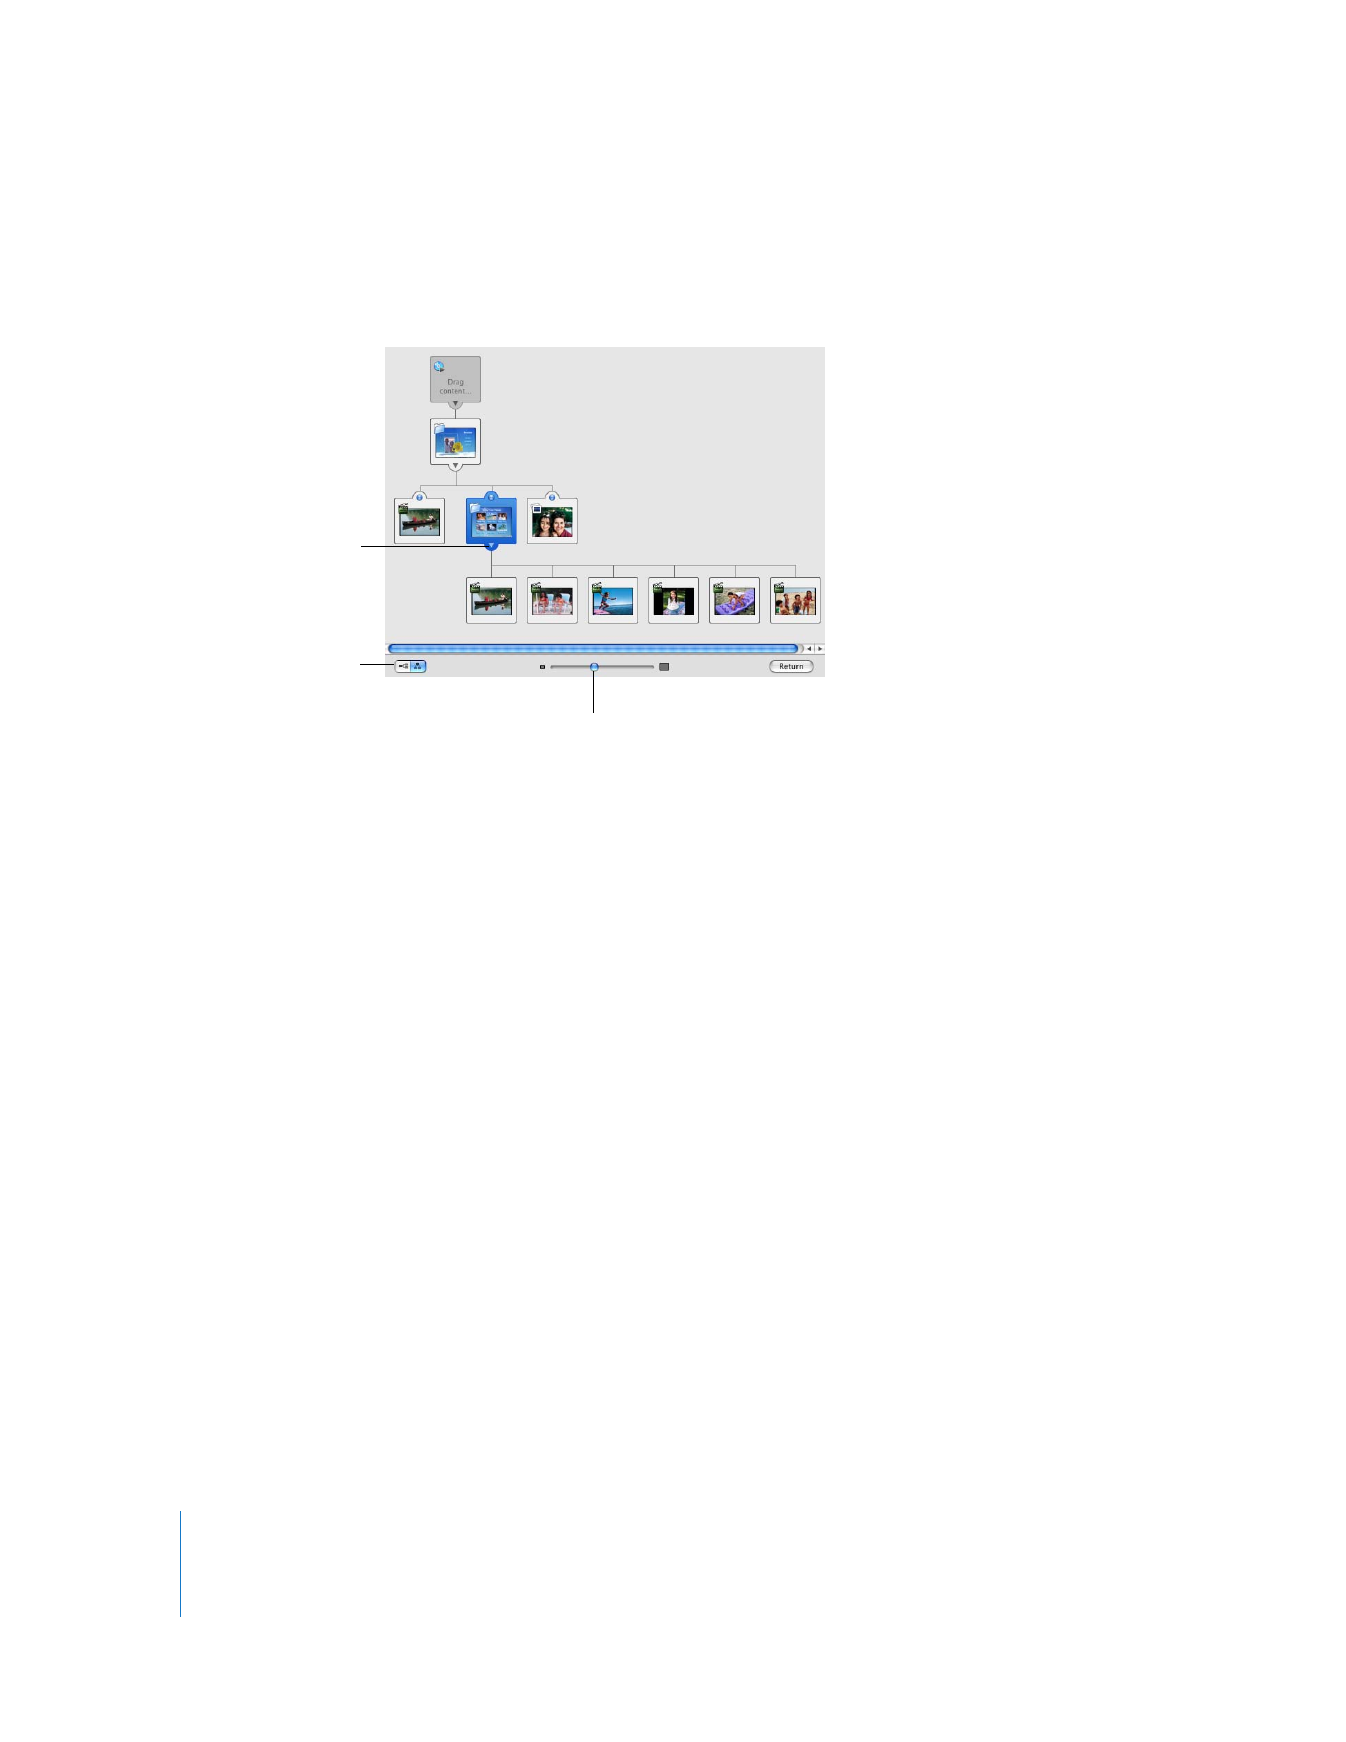
View buttons
Disclosure triangle for
the scene selection menu
Zoom slider

Chapter 2
Learn iDVD
29
An autoplay movie can be video or a slideshow. For example, you could create slides
with introductory information or credits that play before the DVD menu appears. For
the purposes of an autoplay movie, a slideshow can consist of a single image.
To add an autoplay movie:
1
Locate the gray project icon at the top of the map.
2
Click the Media button, and click Photos or Movies to select the content you want to
add.
Remember that the movie you add will play in its entirety before the DVD menu
appears, so you may want to add a short movie.
3
Drag the movie or images to the project icon.
If you add a photo album, it plays as a slideshow. Double-click the project icon to open
the Autoplay Slideshow editor, which is the same as the DVD Slideshow editor, and set
slide duration, a transition, and other settings, and even add a soundtrack.
4
Click the Preview button to view the autoplay movie you added. When you’re done,
click the Exit button on the DVD remote control.
5
To save your work, choose File > Save.
To remove an autoplay movie:
m
Drag the movie out of the project icon, or click the project icon and then press the
Delete key on your keyboard. The autoplay movie disappears with a puff of smoke.
When you remove an autoplay movie, the project icon is not removed, so you can drag
another movie or photo album to the project icon to create a new autoplay movie.
You can make many changes to your project while in map view. To learn more, search
for “Editing in map view” in iDVD Help.
Project icon
Disclosure triangle
30
Chapter 2
Learn iDVD