Step 4: Add a Movie
After you choose your theme, you can add one or more movies and other content to
your iDVD project. In this step, you’ll add a movie.
When you drag a movie to a menu, iDVD automatically adds a button to the menu that
users click to play the movie. The button’s label is the name of the movie you added,
but you can change this.
To add a movie:
1
Click the Media button.
2
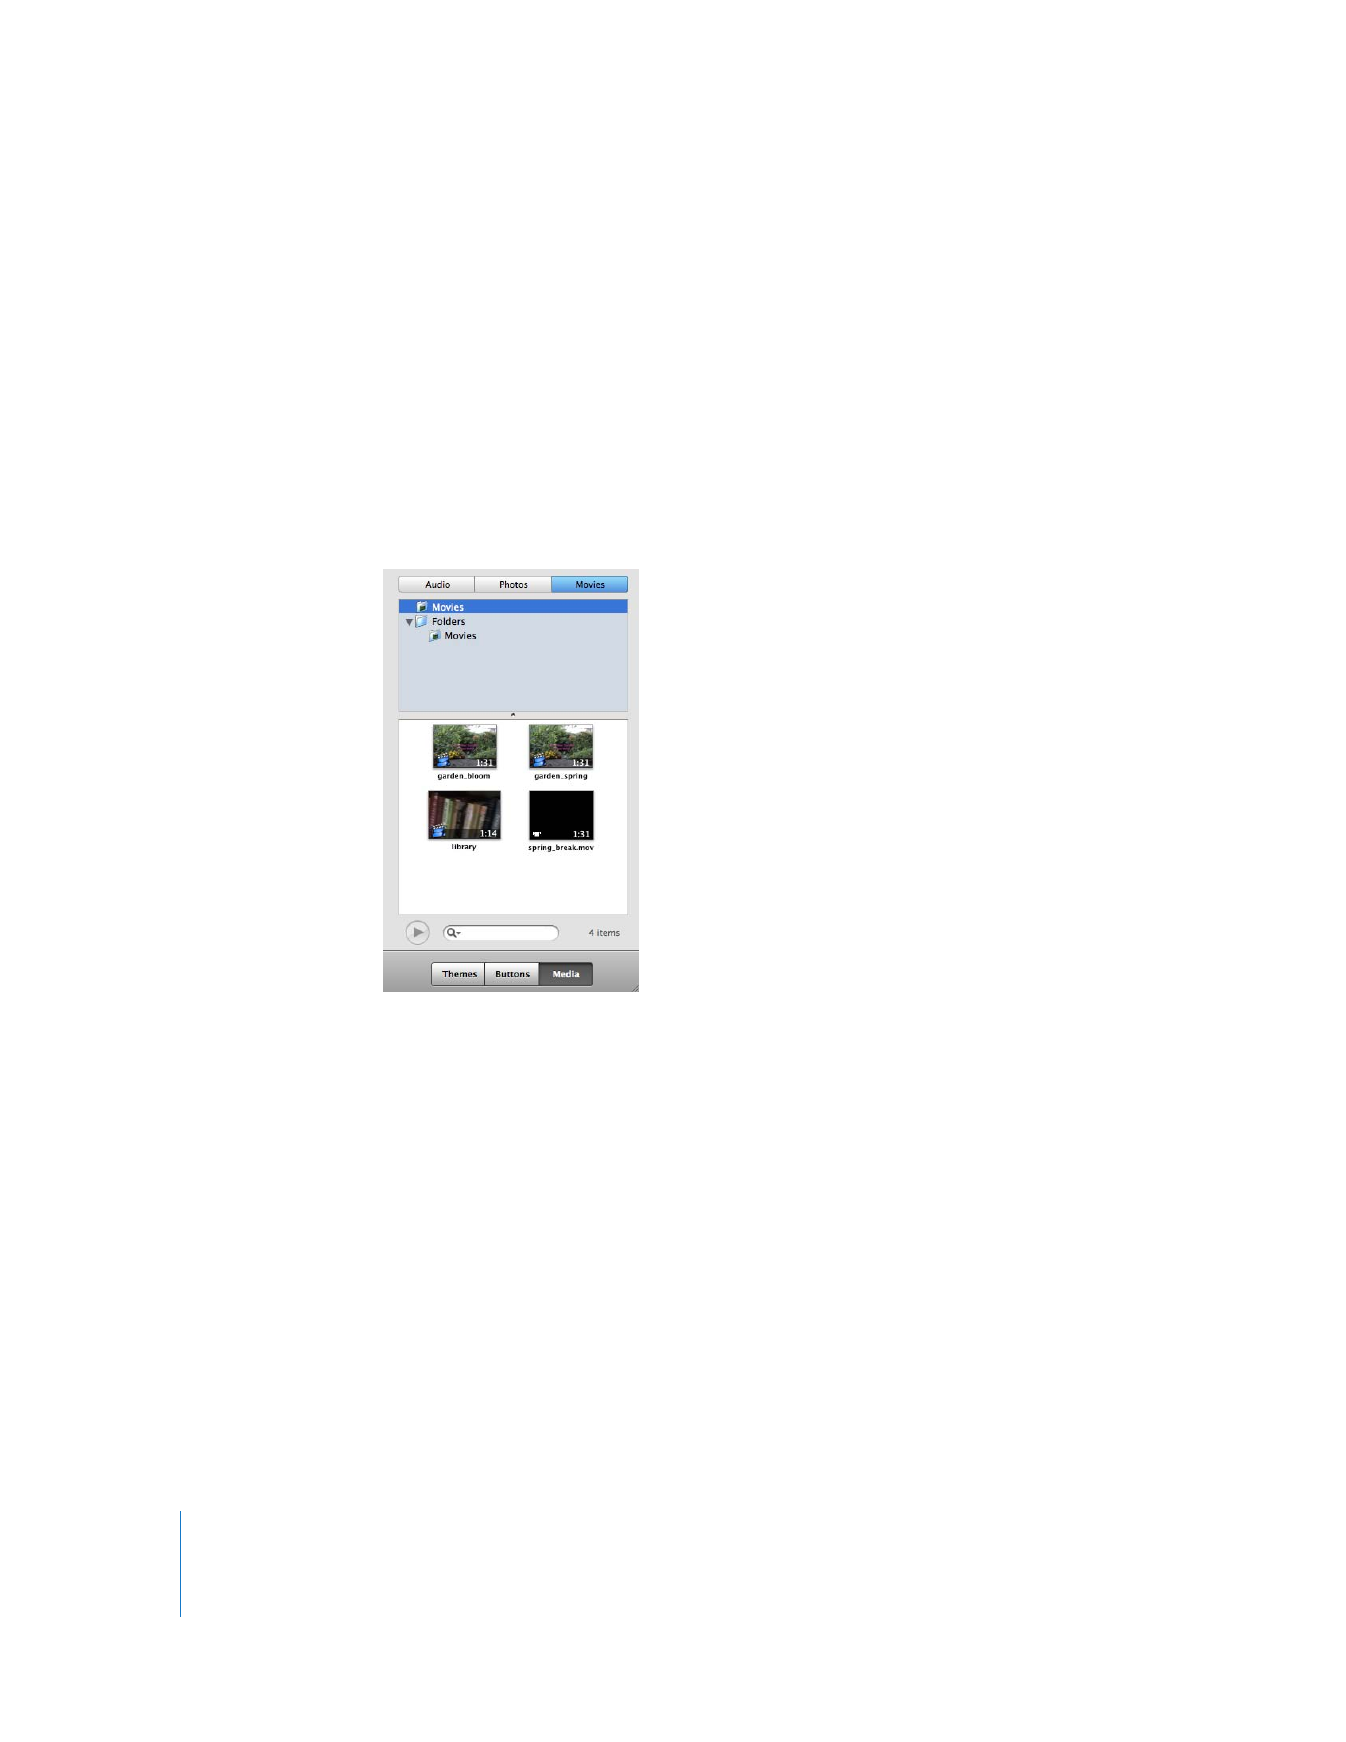
Click the Movies button at the top of the Media pane, shown below.
3
Select the Movies folder or another folder that contains movies.
Thumbnail pictures of the movies in the folder appear in the lower half of the pane.
4
Drag a movie thumbnail to the menu background on the left side of the iDVD window.
You see a green circle with a plus sign when you can drop the movie. In the Soft Frame
Main menu, the background where you can drop your movie includes everything but
the drop zone and the placeholder title.
When you drop the movie, a button appears on the menu that has the same name as
the movie you added. You’ll learn how to change the button name in “Editing Button
Text” on page 22.

Chapter 2
Learn iDVD
13
Note: If dotted lines appear on the menu when you drag your movie to it, move the
pointer until the dotted lines disappear, and then drop the movie. Dotted lines indicate
a drop zone, an area of a menu to which you can add video clips and photos. Video
clips added to a drop zone become part of the menu background rather than featured
movies on the DVD.
If you haven’t saved changes to your project, you can delete a movie you’ve added by
choosing Edit > Undo Add Movie. If you’ve already saved your project, click the button
that links to the movie you want to remove, and then choose Edit > Cut.
It’s possible within iDVD to create a scene selection menu, like commercial DVDs have,
that allows viewers to access specific scenes in your movie. You must first create
chapter markers for your movie, which automatically generates a scene selection menu.
To learn more, search for “chapter markers” in iDVD Help.