Adding a Transition Between Images
iDVD includes a number of transition styles you can apply to your slideshow so that the
images flow smoothly from one to the next.
To add a transition:
1
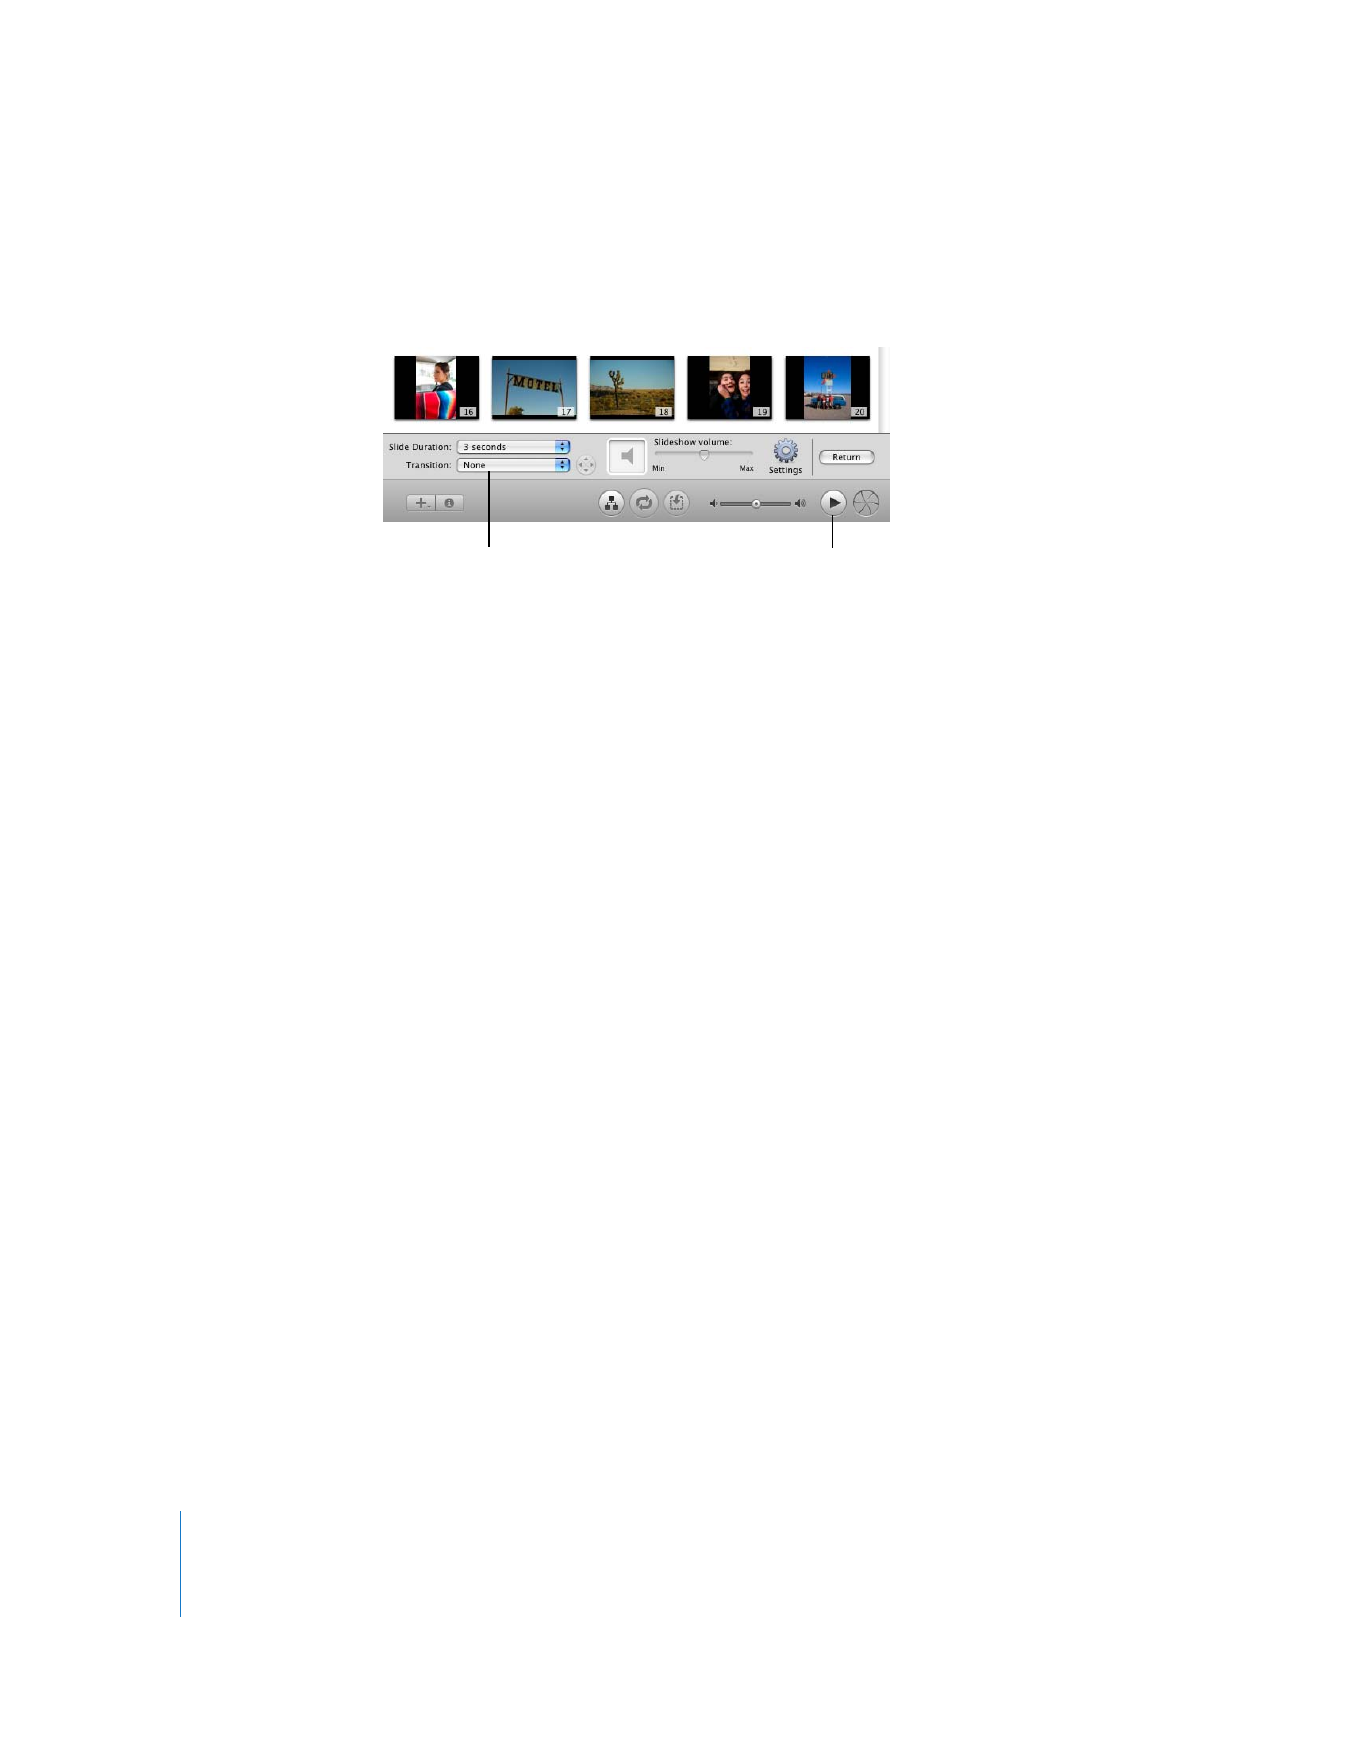
Click the Transition pop-up menu and experiment with the transitions in the menu
until you find one you want to use.
If one of the arrows to the right of the Transition pop-up menu is highlighted when you
make a selection, you can choose a direction for the transition. Click any of the arrows
to select a direction.
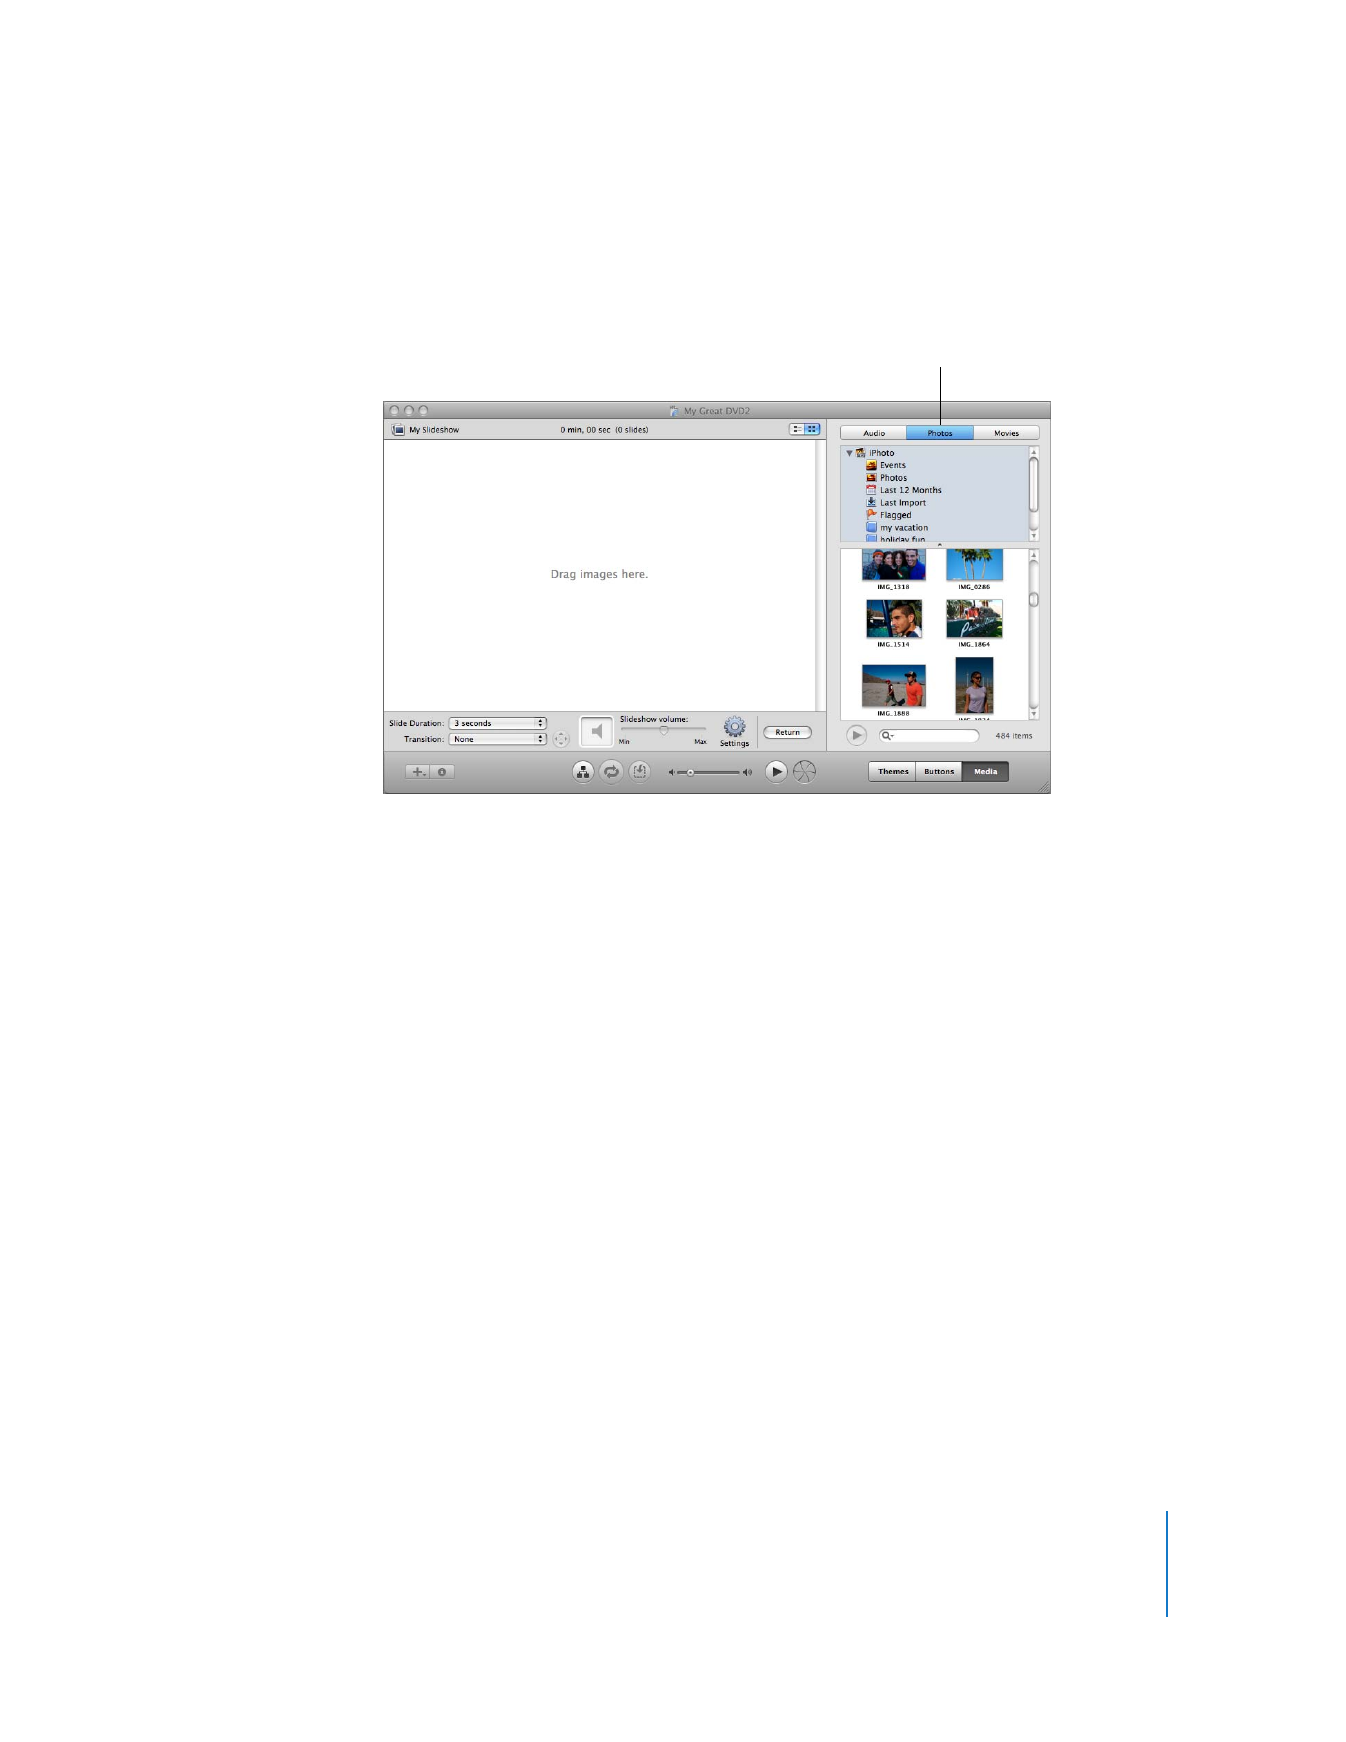
Access the Photos
pane to add photos
to your slideshow.
16
Chapter 2
Learn iDVD
To preview the transition, click the Preview button, shown below. The iDVD remote
control appears. It operates just like a standard remote control, and you can use its
controls to click buttons and navigate to all the menus in your project.
2
Click the Settings button and make other creative decisions using the settings in the
slideshow editor:
 To make the slideshow repeat continuously, select “Loop slideshow.”
 To show navigation arrows on the slideshow, select “Display navigation arrows.”
These arrows are not functional; they serve as a visual reminder that users can use
the controls on their remote controls to progress through the slideshow.
 To add copies of the original photos to the DVD-ROM portion of the disc, select “Add
image files to DVD-ROM.” This allows viewers to download copies of your photos to
their own computers from the DVD.
Note: Adding files to the DVD-ROM portion of the disc uses up space that you might
need for your project. To monitor the size of your project as you work, choose Project >
Project Info. You can see how much space you’ve used next to DVD Capacity.
 To show the title and comments text below the images, select “Show titles and
comments.” To add titles and comments, click the text below the image thumbnail in
the slideshow editor and type in the text field that appears.