Changing Button Shapes
You can turn any text button into a shape (or image) button. Image buttons consist of
a text label and a shape thumbnail. You can add photos or movie clips to the
thumbnail portion of image buttons to add visual interest to your menus.
Image buttons on a menu can be all the same shape, or you can mix styles.
To change button shapes:
1
From the main menu, select one of the buttons by clicking it once, and then choose
Edit > Select All Buttons.
If you want each button to be different, you can select buttons and change their styles
one at a time.
Click the color control to
select a new color for the
selected text.
24
Chapter 2
Learn iDVD
2
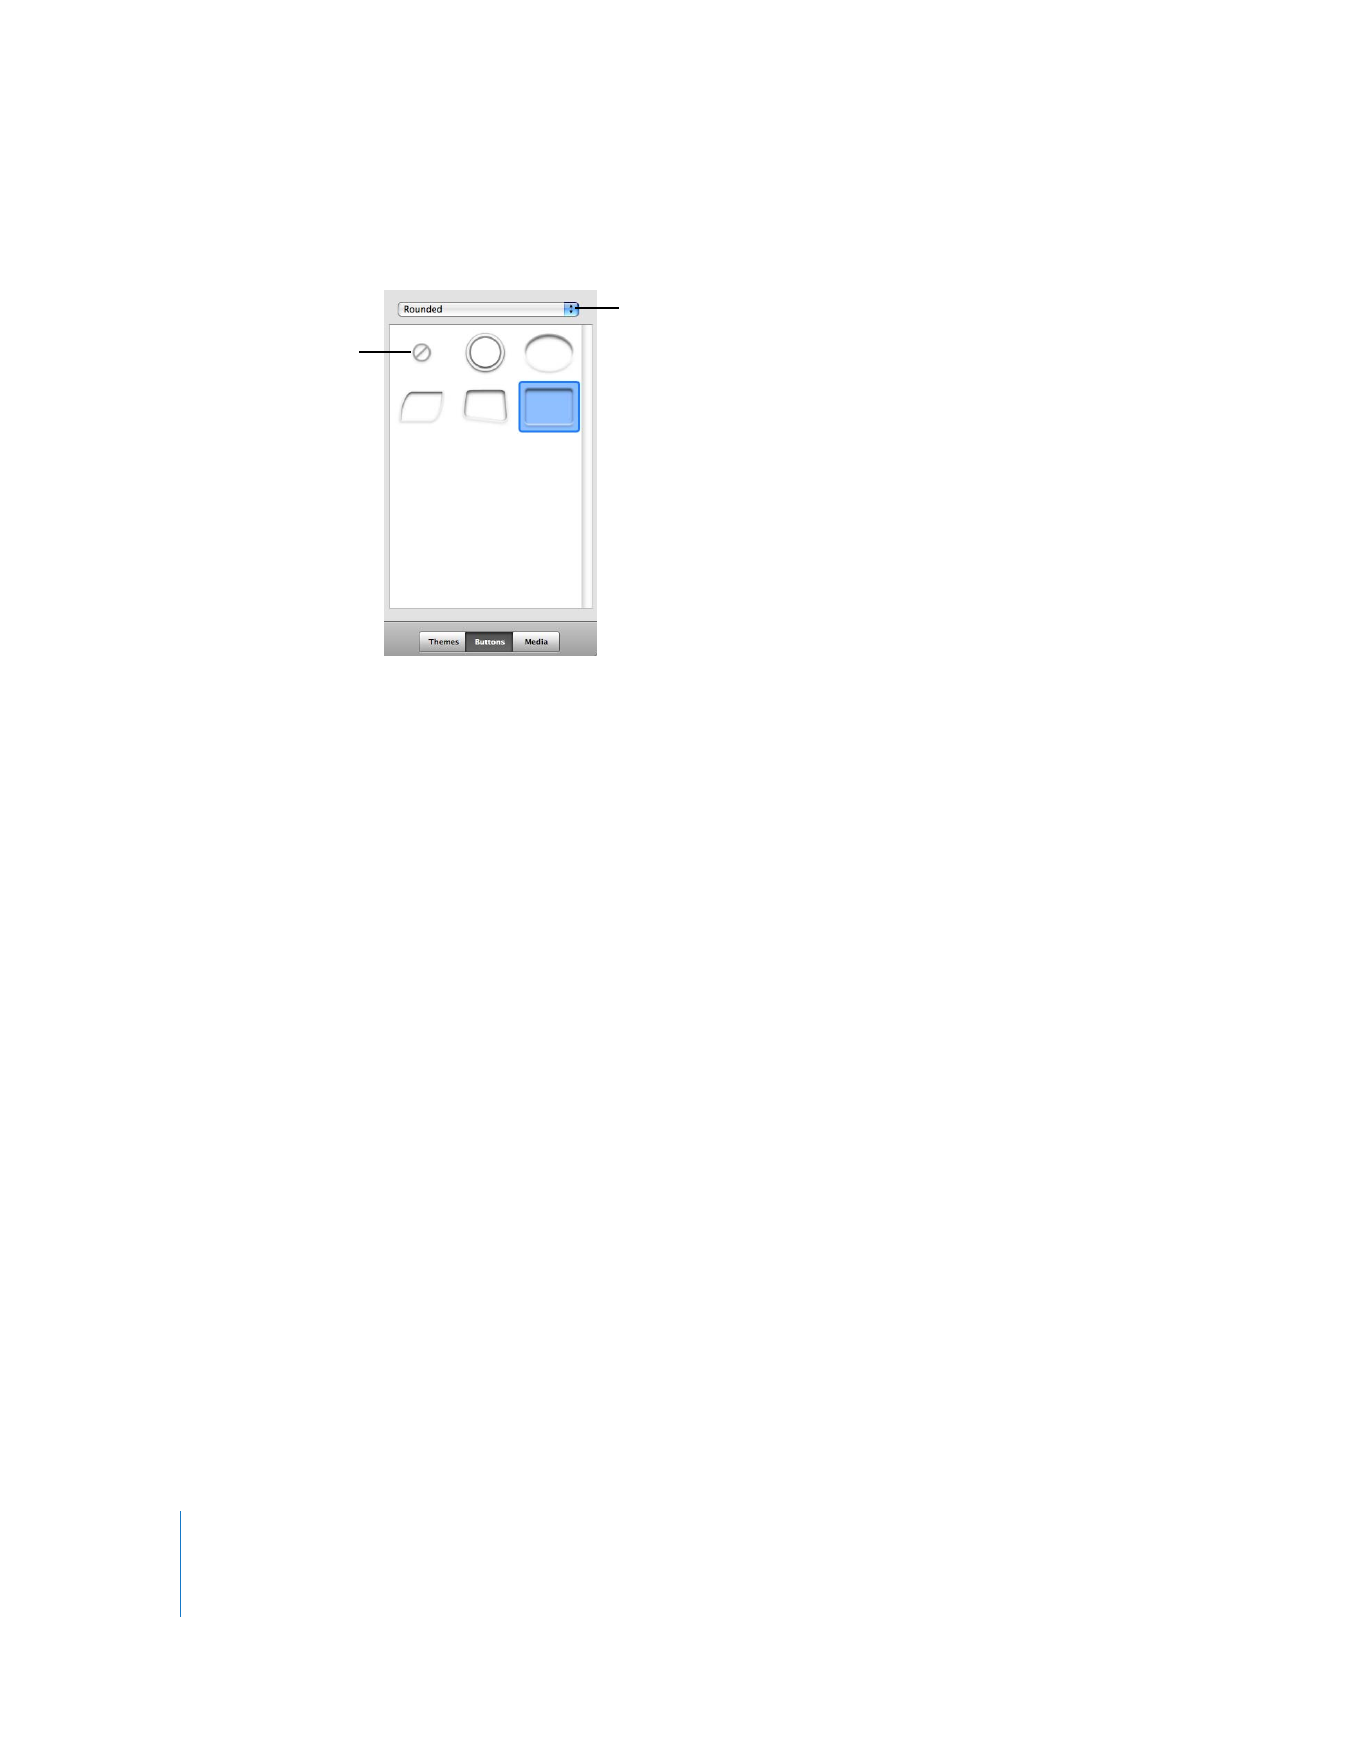
Click Buttons to open the Buttons pane, shown below.
3
From the pop-up menu at the top of the pane, choose Rounded.
The three button options at the top of the pop-up menu—Text, Bullets, and Shapes—
add a graphical element to your buttons that in most cases appears only when the
button is highlighted. The four button options at the bottom of the pop-up menu
create buttons that have a label and a shape to which you can add an image or movie
clip.
4
Click one of the button shapes.
Try different button shapes until you find one that looks good on your menu. The icon
(the gray circle with a slash) at the top of the Buttons pane changes all selected
buttons to text-only buttons.
Most likely, when you apply a shape, the buttons on your menu will overlap. You’ll fix
that in step 6 below.
5
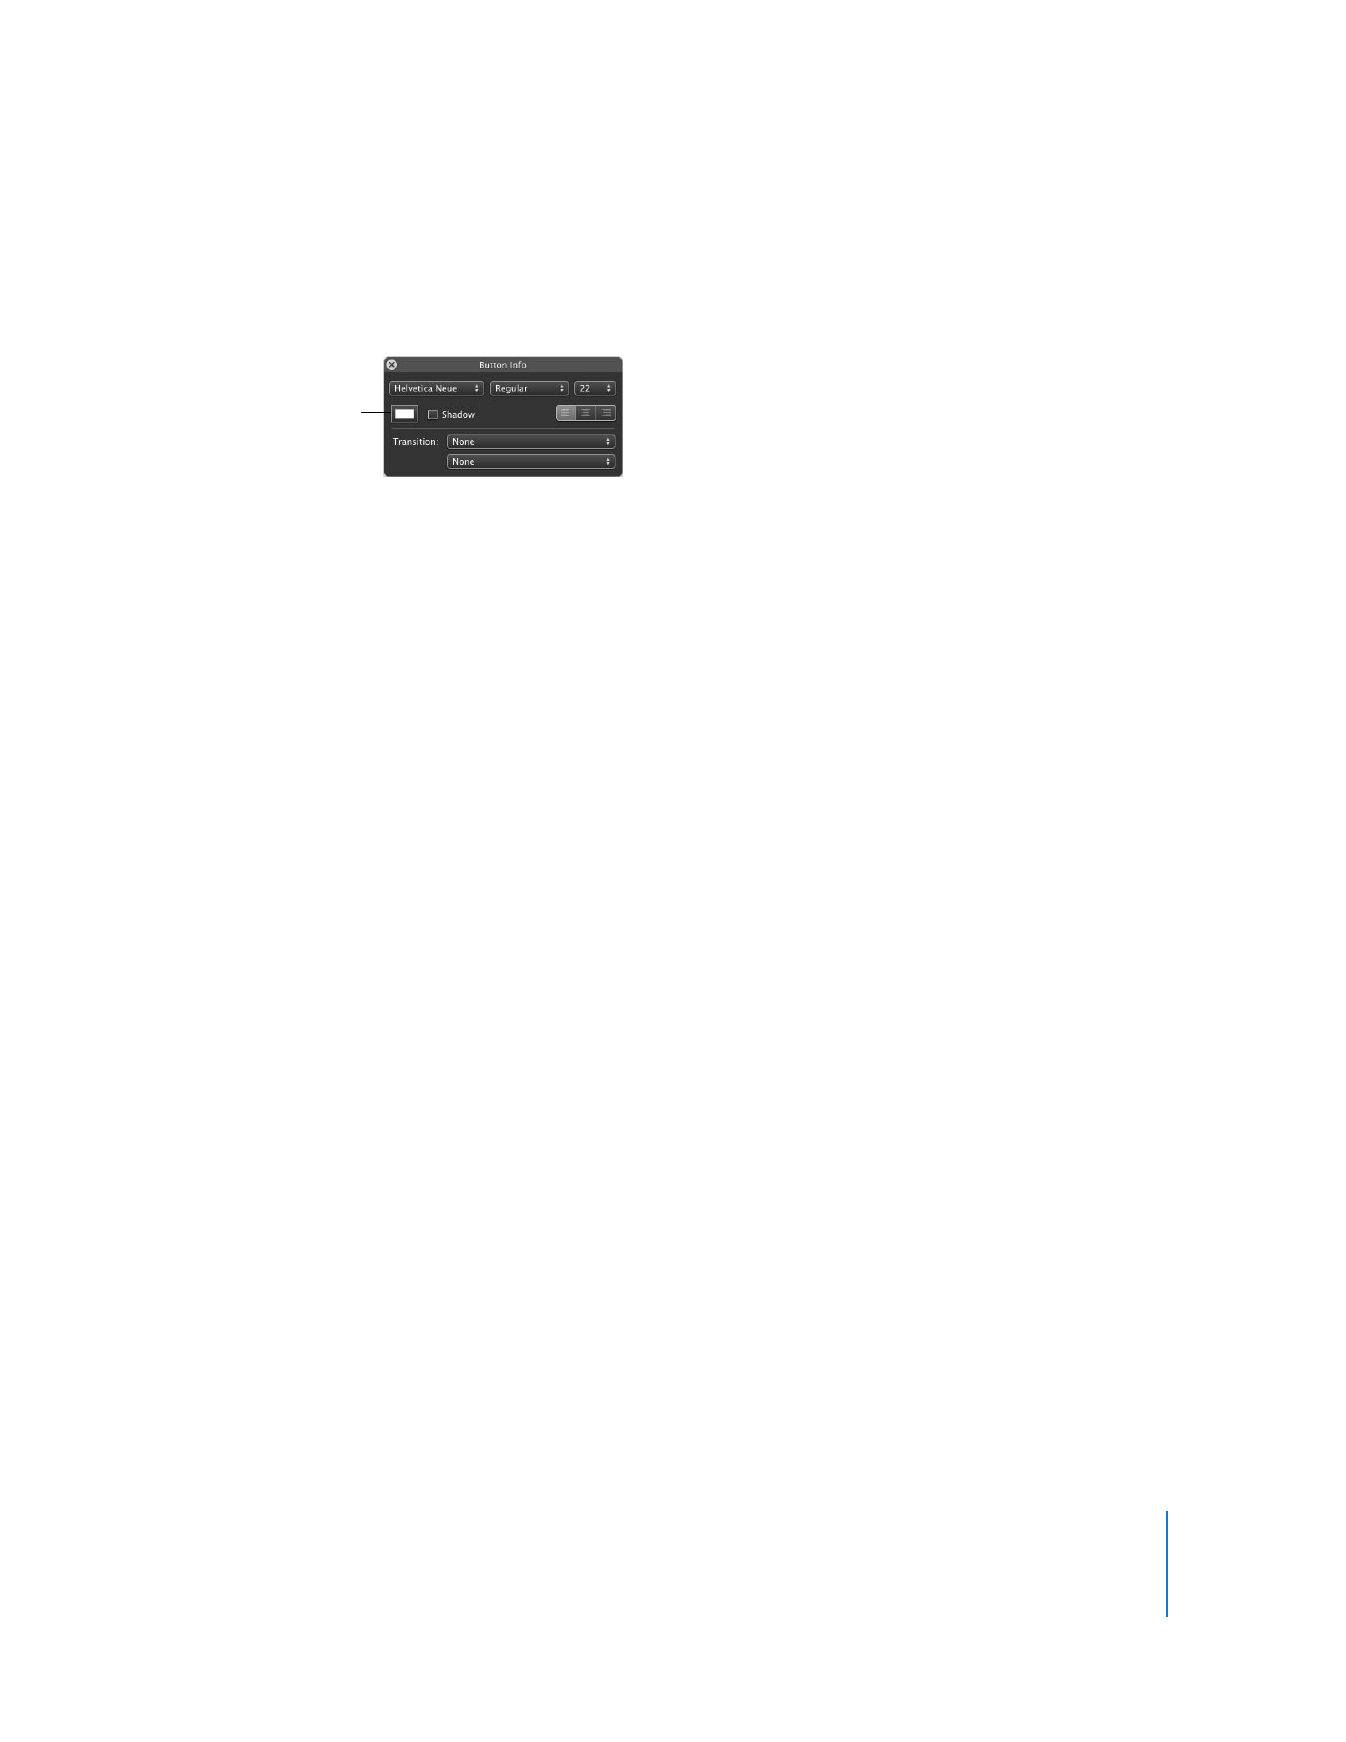
With your buttons still selected, press Command (x)-I again to open the Button Info
window.
Use the controls in the Button Info window to make other creative decisions:
 Use the Thumbnail slider to change the size of the button shape.
 Use the label pop-up menu to change where the button label appears in relation to
its shape.
Select a category of
button shapes using
this pop-up menu.
Click this icon to change
a button to text only.
Chapter 2
Learn iDVD
25
6
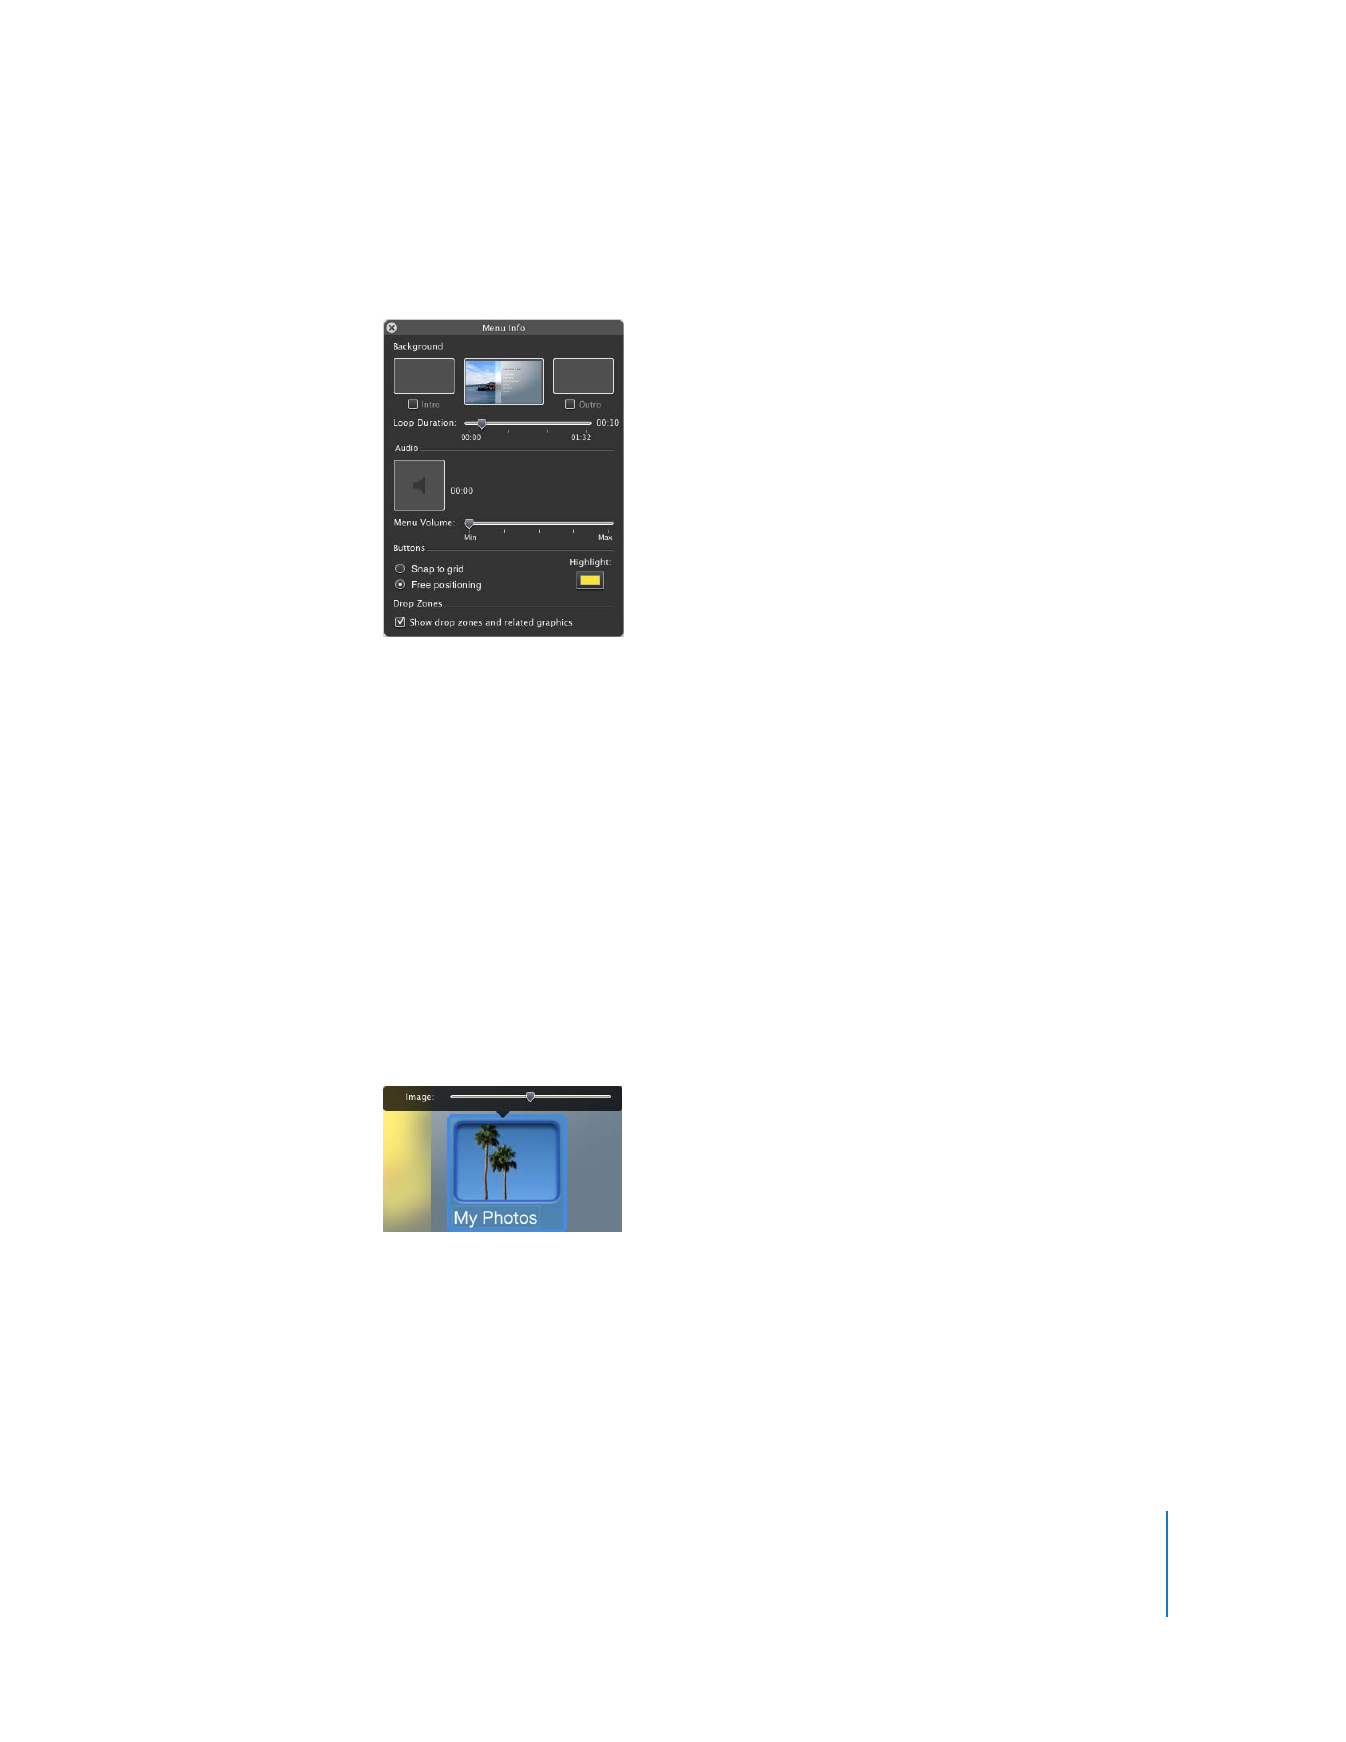
If the buttons are still overlapping, click the menu, but not a drop zone or text object.
The Menu Info window, shown below, appears.
7
Select “Free positioning” in the Buttons section of the window. This allows you to move
the buttons around the menu
8
Close the window, and then drag your buttons where you want them on the menu.
Yellow alignment guides appear as you drag to help you place your buttons.
9
To save your work, choose File > Save.